BRIDGE GLUING 2
Continuing the process of making and installing the bridge.
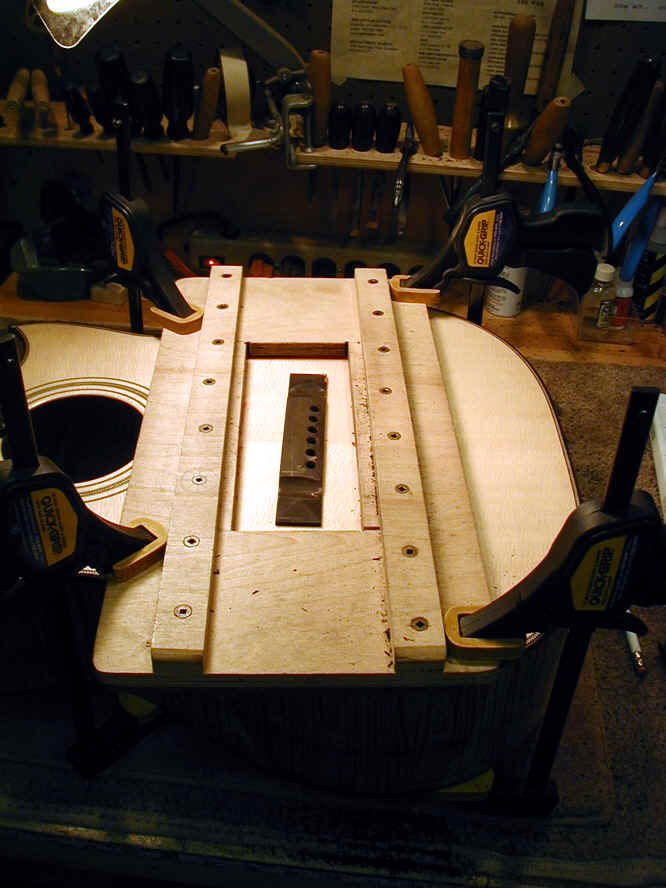
 Once
the bridge is in place I cut the saddle slot (the bridge pin holes are cut
before I glue it on). This simple jig holds and guides the router I
use to ensure a straight and accurate cut.
Once
the bridge is in place I cut the saddle slot (the bridge pin holes are cut
before I glue it on). This simple jig holds and guides the router I
use to ensure a straight and accurate cut.
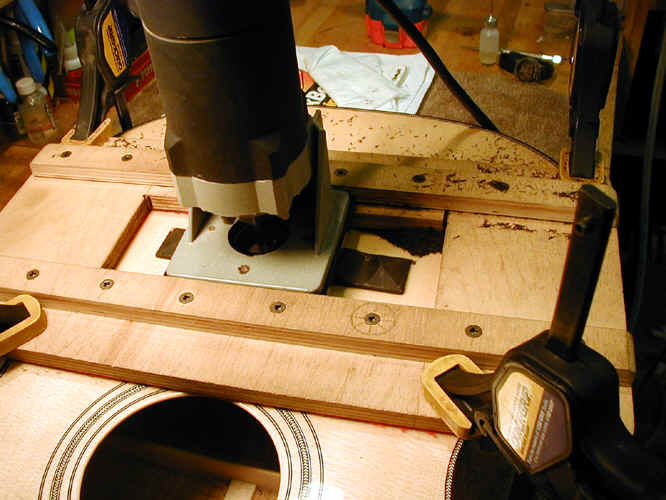
 Here
is the jig in use. I use a 1/8" saddle and therefore use a
1/8" bit. The slot is cut in several passes to get the correct
depth.
Here
is the jig in use. I use a 1/8" saddle and therefore use a
1/8" bit. The slot is cut in several passes to get the correct
depth.
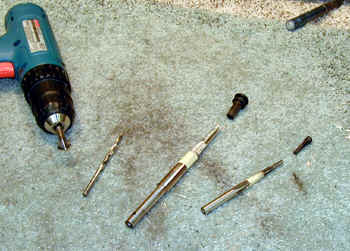 The
next step is to drill and ream the bridge pin holes and the end pin
hole. These are the tools I use for this.
The
next step is to drill and ream the bridge pin holes and the end pin
hole. These are the tools I use for this.
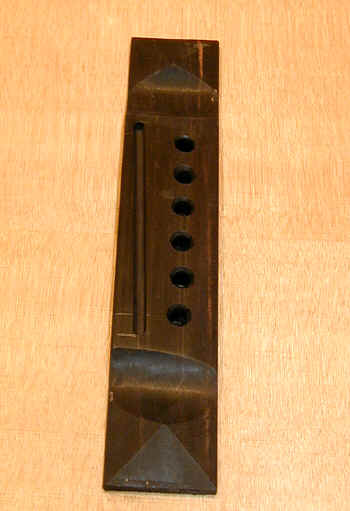 Almost
ready to go.
Almost
ready to go.
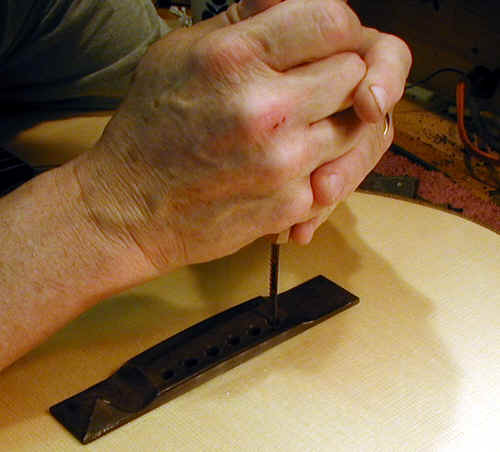 Although I use a slotted bridge pin, I also slot the bridge. I start
with a saw which is a sabre saw blade in a home made handle.
Although I use a slotted bridge pin, I also slot the bridge. I start
with a saw which is a sabre saw blade in a home made handle.
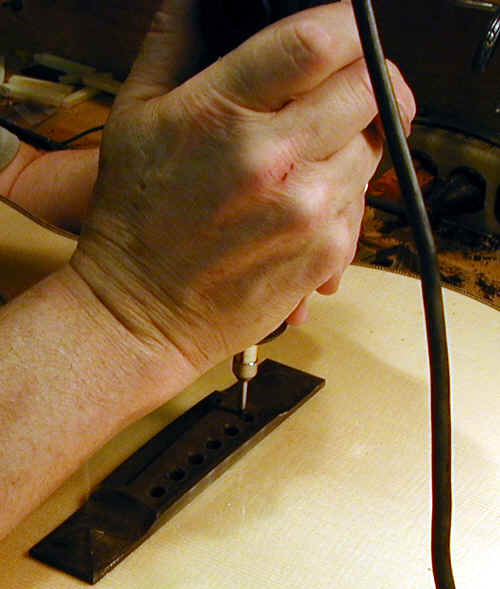 Next, I enlarge the slot with a Dremmel tool and ensure that it goes the
full depth of the bridge, top, bridge plate combination.
Next, I enlarge the slot with a Dremmel tool and ensure that it goes the
full depth of the bridge, top, bridge plate combination.
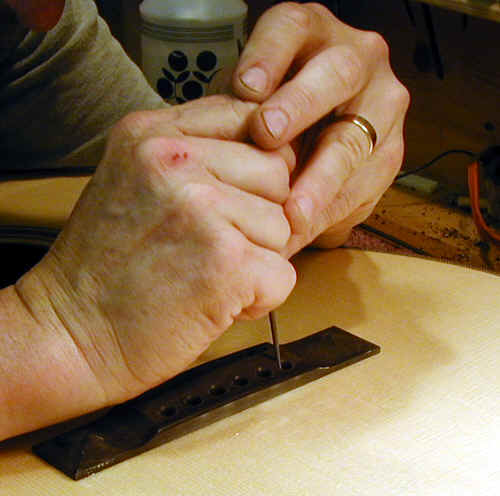 Finally,
I finish and adjust the slot with a round needle file.
Finally,
I finish and adjust the slot with a round needle file.
This website and all of its content, text and images are copyright ©1997-2012 by Charles A. Hoffman. All rights reserved.
| Back | Making Pyramid Bridge |