MAKING THE NECK -- 4
I use a single Gibson style truss rod. This is a rod anchored at one end (the body end of the neck, in my case, and set in a curved groove in the neck. the groove is deeper in the middle than the ends and there is a filler strip on top of the rod which is curved in the same curve as the slot. The adjustable end is at the peghead where there is a metal washer (for a bearing surface) and an adjustable nut. Tightening the rod in effect shortens it and forces the rod into a slightly straighter form, and this straightens the neck - if all goes well. Based on some 30 years of running a repair shop and building guitars it seems to me that this mechanism works as well as any and better than most - if the neck is well built as well.
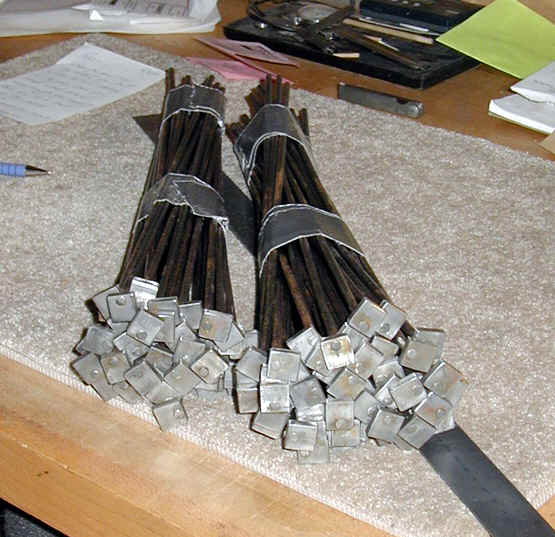 I recently had a machinist friend make up a batch of 100 truss
rods.
I recently had a machinist friend make up a batch of 100 truss
rods.
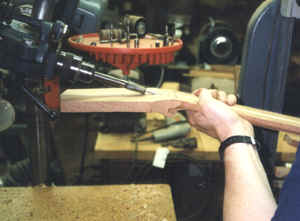
 Here I am beginning to install the truss rod. I am using a
small router to cut the pocket which holds the truss rod anchor.
Here I am beginning to install the truss rod. I am using a
small router to cut the pocket which holds the truss rod anchor.
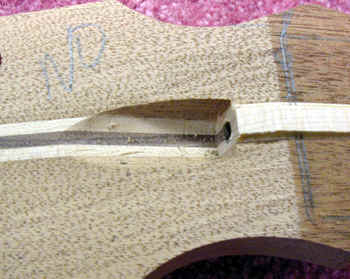
 The anchor pocket is cut.
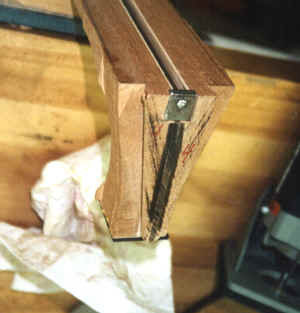
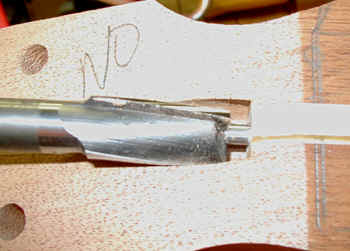
 The
anchor end of the truss rod.
The
anchor end of the truss rod.
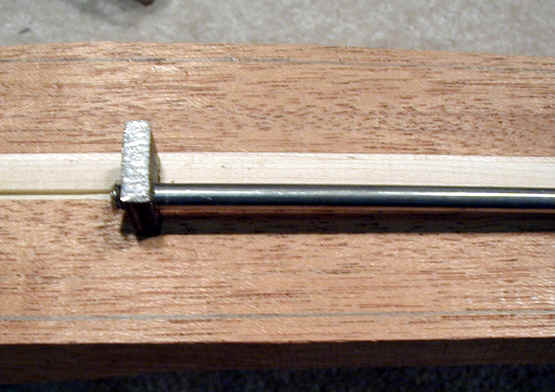
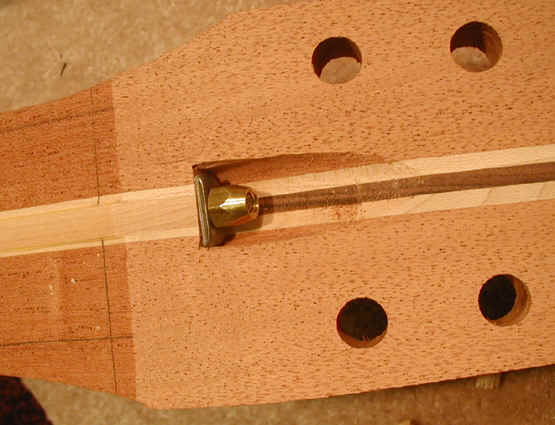
 The truss rod in place.
 Truss rod in place before the filler strip is in place
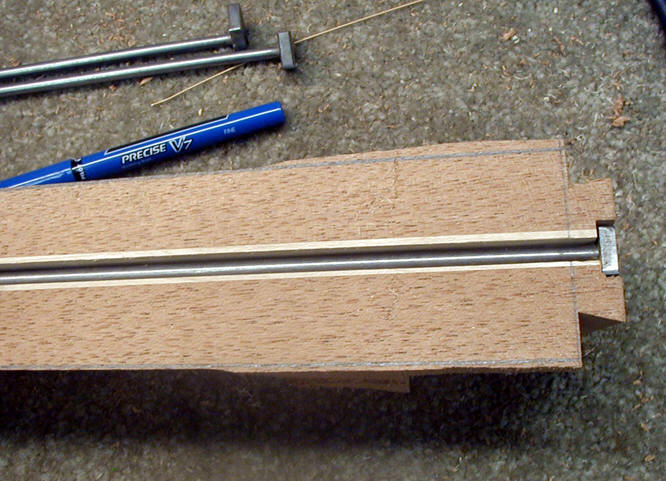
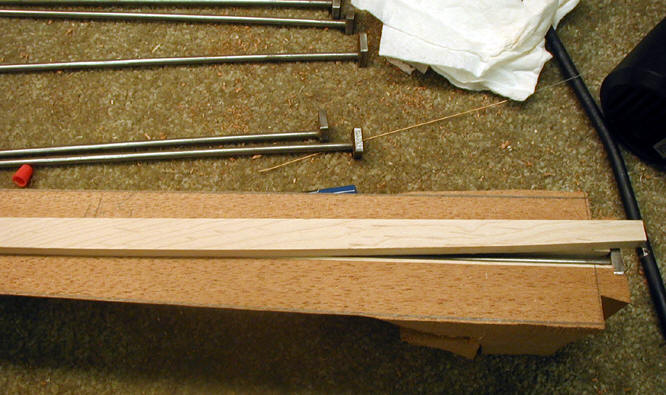 The curved filler strip which will hold the truss rod in the curve which
is important to its proper function.
The curved filler strip which will hold the truss rod in the curve which
is important to its proper function.
 I make my own truss rods. They are of the Gibson style.
A 3/16 steel rod (I buy drill rod from a machine supply store) that is
threaded on both ends with a 10/32 thread. One end goes in the
anchor (made of 1/8" steel) and the other will receive the adjustment
nut. As noted above, sometimes a I have a batch made up by a
machinist friend - saves a bit of time and I am not fond of metal working.
I make my own truss rods. They are of the Gibson style.
A 3/16 steel rod (I buy drill rod from a machine supply store) that is
threaded on both ends with a 10/32 thread. One end goes in the
anchor (made of 1/8" steel) and the other will receive the adjustment
nut. As noted above, sometimes a I have a batch made up by a
machinist friend - saves a bit of time and I am not fond of metal working.
![]() Here is a completed truss rod.
Here is a completed truss rod.
 The pocket in the peghead for the truss rod.
 The truss rod is placed in a curved slot and covered with a curved
piece of maple which matches that curve. An earlier photo showed
the jig used to cut the slot on the spindle shaper. Here the covering
pieces are being glued in place.
The truss rod is placed in a curved slot and covered with a curved
piece of maple which matches that curve. An earlier photo showed
the jig used to cut the slot on the spindle shaper. Here the covering
pieces are being glued in place.
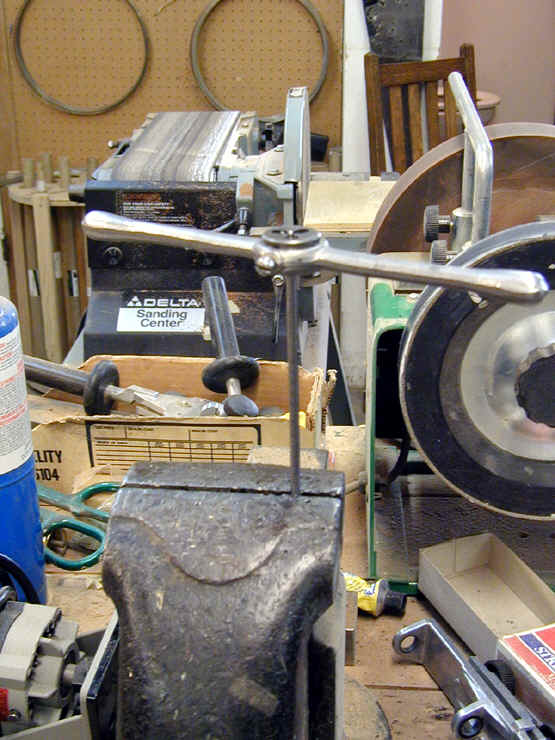
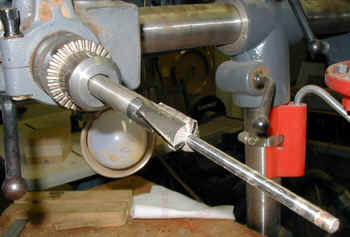 Next, I cut the pocket in the peghead which will accept the truss
rod nut. I use a tool called a counterbore. This is really
just a drill (1/2" in my case) with a 3/16 rod sticking out of the
end. Machine shop suppliers carry them in all sizes. I pull
the truss rod out of the slot (after the filler is glued in, and the rod
on the counterbore guides the drill perfectly.
Next, I cut the pocket in the peghead which will accept the truss
rod nut. I use a tool called a counterbore. This is really
just a drill (1/2" in my case) with a 3/16 rod sticking out of the
end. Machine shop suppliers carry them in all sizes. I pull
the truss rod out of the slot (after the filler is glued in, and the rod
on the counterbore guides the drill perfectly.
 Here is the counter bore in action.
 And again.
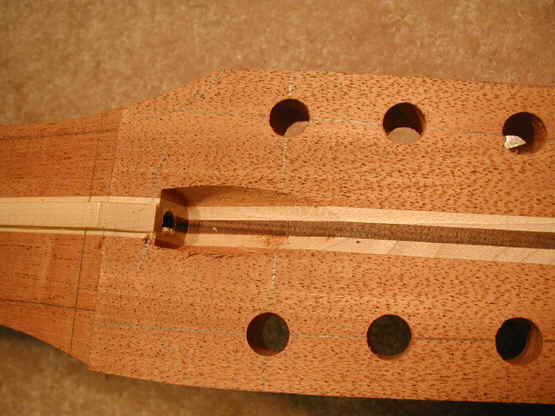
Here is the truss rod pocket cut by the counterbore.
 The finished product.
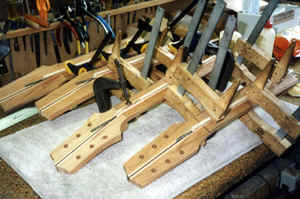
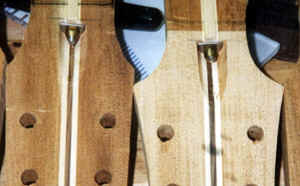 Several pegheads with truss rods installed. As I mentioned
above, I use the Gibson style truss rod. After almost 30 years
of repairing guitars, my experience is that this style works very well.
Some complain that this is not a double acting rod - i.e. that it does
not both remove and add relief to the neck. This is very easy to
fix. After the truss rod is installed, I pre-tension it (about
1/2 turn ) which adds a small amount of backbow to the neck. Then
I sand the fingerboard surface flat again and voila, I have a
double acting truss rod. This is one of the reasons I remove a lot
of waste wood on the spindle shaper - having the neck blank close to final
size makes this step work more effectively and predictably.
Several pegheads with truss rods installed. As I mentioned
above, I use the Gibson style truss rod. After almost 30 years
of repairing guitars, my experience is that this style works very well.
Some complain that this is not a double acting rod - i.e. that it does
not both remove and add relief to the neck. This is very easy to
fix. After the truss rod is installed, I pre-tension it (about
1/2 turn ) which adds a small amount of backbow to the neck. Then
I sand the fingerboard surface flat again and voila, I have a
double acting truss rod. This is one of the reasons I remove a lot
of waste wood on the spindle shaper - having the neck blank close to final
size makes this step work more effectively and predictably.
This website and all of its content, text and images are copyright ©1997-2011 by Charles A. Hoffman. All rights reserved.