MAKING THE NECK - 3
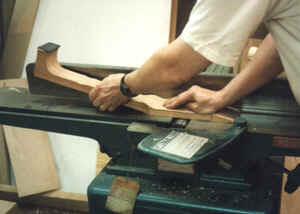 Here I am using the jointer to face off the peghead. I use
the bandsaw to establish the basic angle and this just smoothes it off
and establishes the distance from the end of the fingerboard to the beginning
of the angle.
Here I am using the jointer to face off the peghead. I use
the bandsaw to establish the basic angle and this just smoothes it off
and establishes the distance from the end of the fingerboard to the beginning
of the angle.
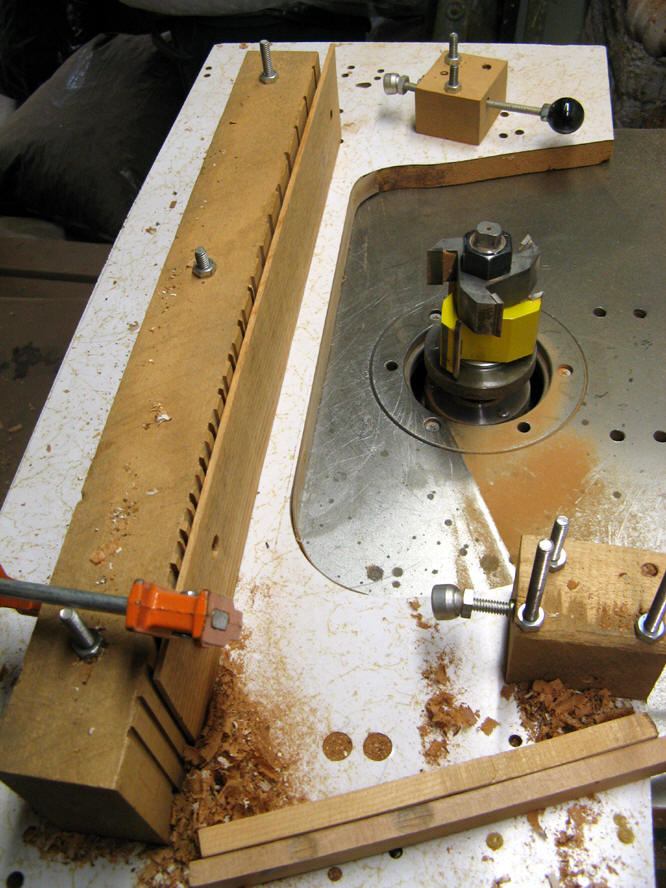
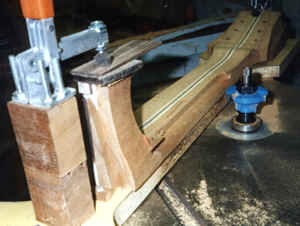 Here I am using the spindle shaper to rough out the neck shape and
size. The jig is shaped to match the taper of the fingerboard and
the shaper has a ball bearing rub collar under the cutter which follows
the shape of the jig. The purpose of this step is not to final shape
the neck - I still enjoy doing that by hand. This removes
a lot of the extra wood and simply makes the job easier. It also
makes the pre-tensioning of the truss rod more effective- as described
below.
Here I am using the spindle shaper to rough out the neck shape and
size. The jig is shaped to match the taper of the fingerboard and
the shaper has a ball bearing rub collar under the cutter which follows
the shape of the jig. The purpose of this step is not to final shape
the neck - I still enjoy doing that by hand. This removes
a lot of the extra wood and simply makes the job easier. It also
makes the pre-tensioning of the truss rod more effective- as described
below.
 I have a new cutter for my shaper that does some preliminary rounding of
the neck - not a final shaping but simply a bit more rough stock removal.
I have a new cutter for my shaper that does some preliminary rounding of
the neck - not a final shaping but simply a bit more rough stock removal.
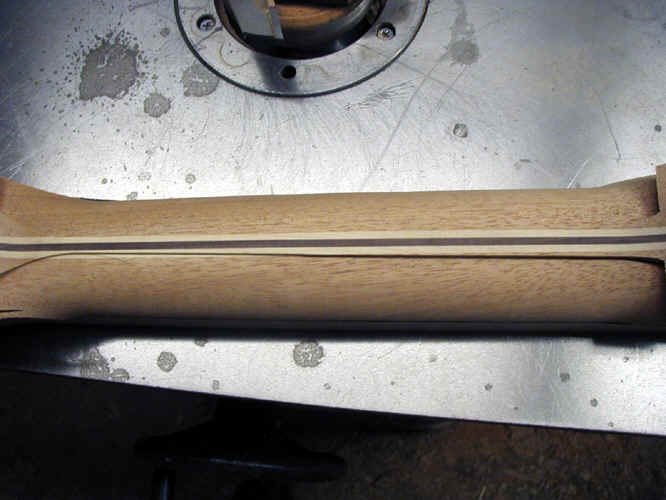 The cutter is very smooth.
 This is a similar step which establishes the basic thickness
of the neck.
This is a similar step which establishes the basic thickness
of the neck.
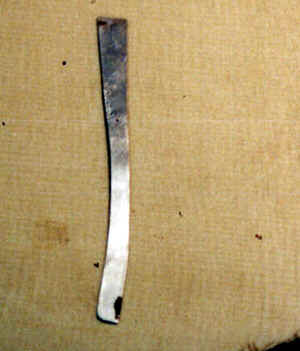 This is a simple tool - a small piece of aluminum shaped like
the sides of my neck's heel. I mark the edges of the heel at the
top (fingerboard ) and the bottom (heel cap) and use this to draw the
line between them. I use a lot of small templates or marking
jigs like this - they help to keep the appearance of the guitars
uniform.
This is a simple tool - a small piece of aluminum shaped like
the sides of my neck's heel. I mark the edges of the heel at the
top (fingerboard ) and the bottom (heel cap) and use this to draw the
line between them. I use a lot of small templates or marking
jigs like this - they help to keep the appearance of the guitars
uniform.
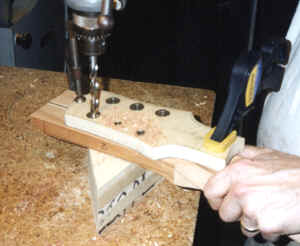 Next the peghead. This jig is designed to aid drilling the
holes for the gears. It is made of Baltic birch plywood and has
metal drill bushings. It is carefully located on the neck and clamped
with two clamps. I then just drill through with my drill press.
Next the peghead. This jig is designed to aid drilling the
holes for the gears. It is made of Baltic birch plywood and has
metal drill bushings. It is carefully located on the neck and clamped
with two clamps. I then just drill through with my drill press.
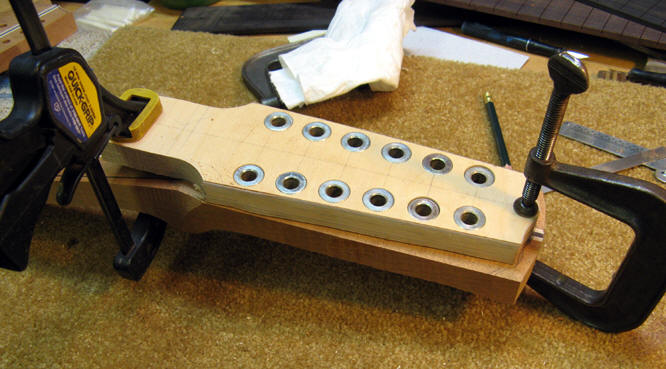
 Another photo of the
drilling jigs.
Another photo of the
drilling jigs.
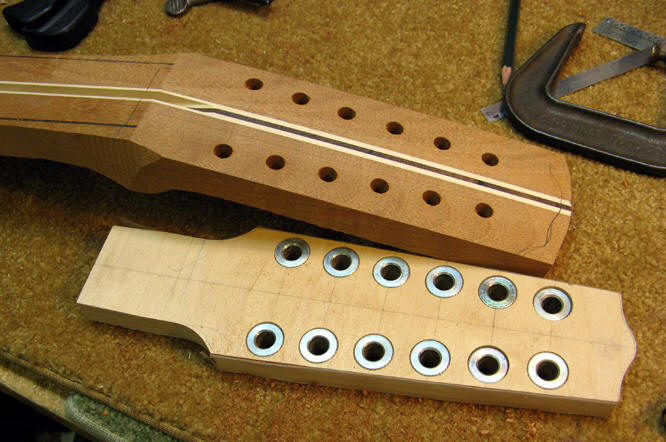
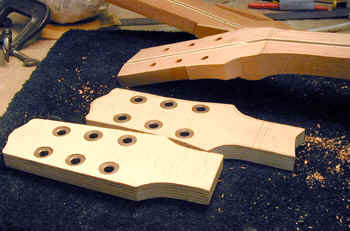
 After drilling the holes for the gears I bandsaw away the excess
wood.
After drilling the holes for the gears I bandsaw away the excess
wood.
 Sometimes the wood is
a bit small for the peg head and I glue on "ears" to allow for
the full width of the head.
Sometimes the wood is
a bit small for the peg head and I glue on "ears" to allow for
the full width of the head.
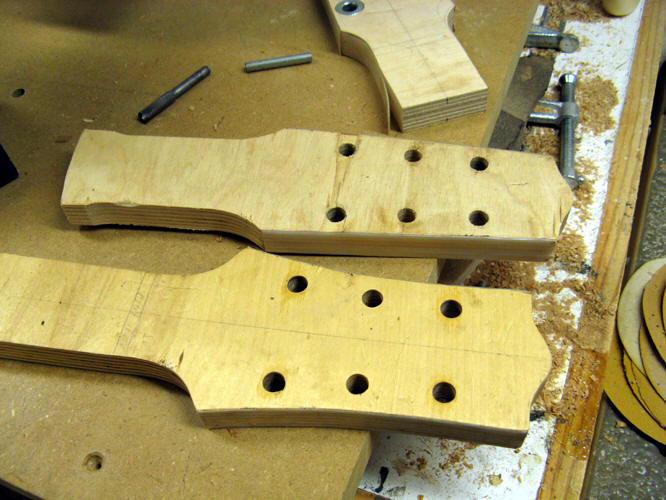
 Pegheads faced off and ready to shape.
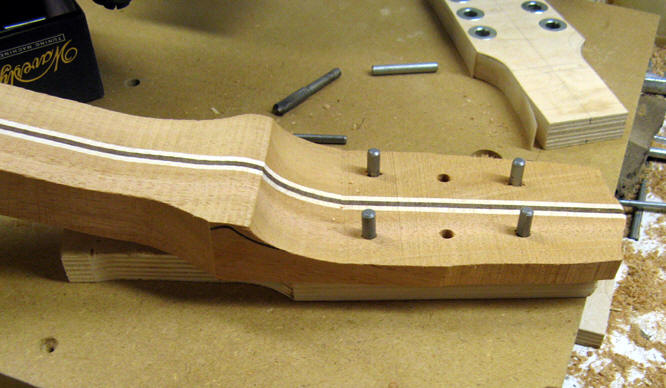
 These are jigs I use to shape pegheads. I fit metal dowels into
the holes which then match up with holes in the peghead and hold it
rigidly for shaping.
These are jigs I use to shape pegheads. I fit metal dowels into
the holes which then match up with holes in the peghead and hold it
rigidly for shaping.
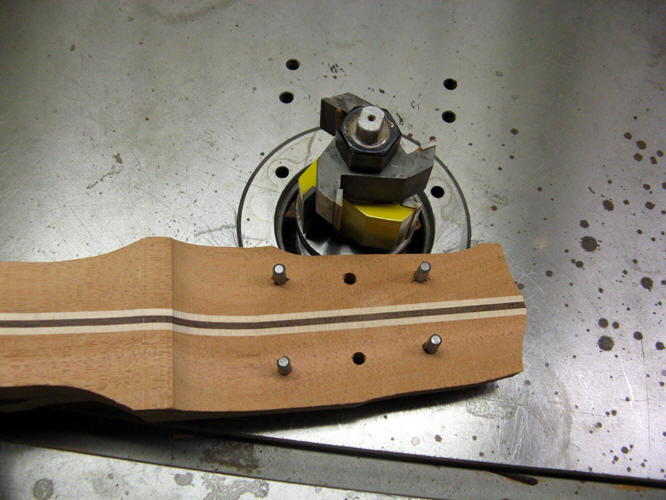
 The next step is to final shape the peghead. Again, I use the
spindle shaper. This jig is for the shape I use on my D shape guitars.
It has dowels that fit in the holes drilled earlier, and is automatically
located perfectly - centered and the correct distance from
the end of the fingerboard. these days I use metal dowels instead
of wood. One reason is that I can use a stepped dowel (3/8 AND 1/4
") so that one jig can work for both enclosed machines like Gotoh which
use a 3/8" hole and for Waverlys which use a 1/4" hole.
The next step is to final shape the peghead. Again, I use the
spindle shaper. This jig is for the shape I use on my D shape guitars.
It has dowels that fit in the holes drilled earlier, and is automatically
located perfectly - centered and the correct distance from
the end of the fingerboard. these days I use metal dowels instead
of wood. One reason is that I can use a stepped dowel (3/8 AND 1/4
") so that one jig can work for both enclosed machines like Gotoh which
use a 3/8" hole and for Waverlys which use a 1/4" hole.
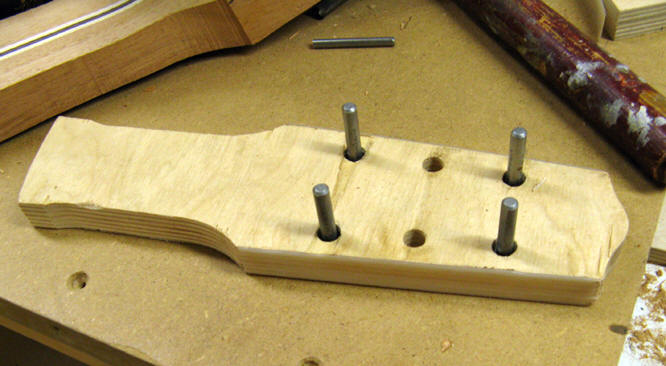 These dowels are for a Waverly style machine.
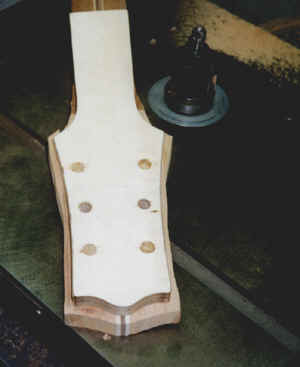
 With the peghead on the jig
 The shaper in action.
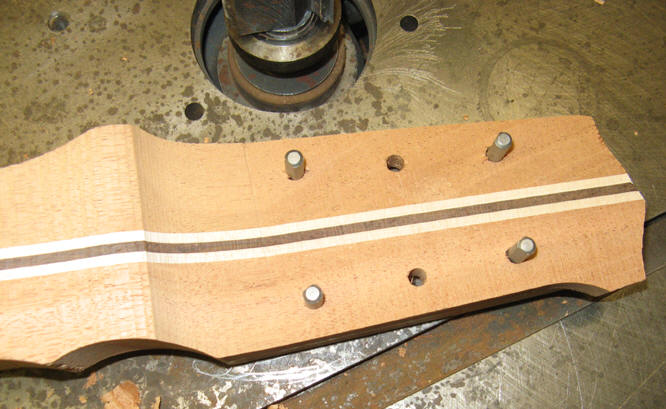 Again
Again
 Here the shaping is about half done.
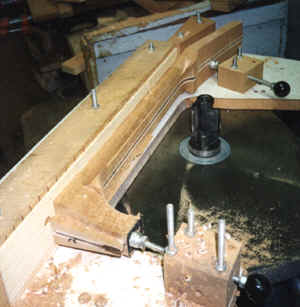
 This jig thicknesses the neck blank.
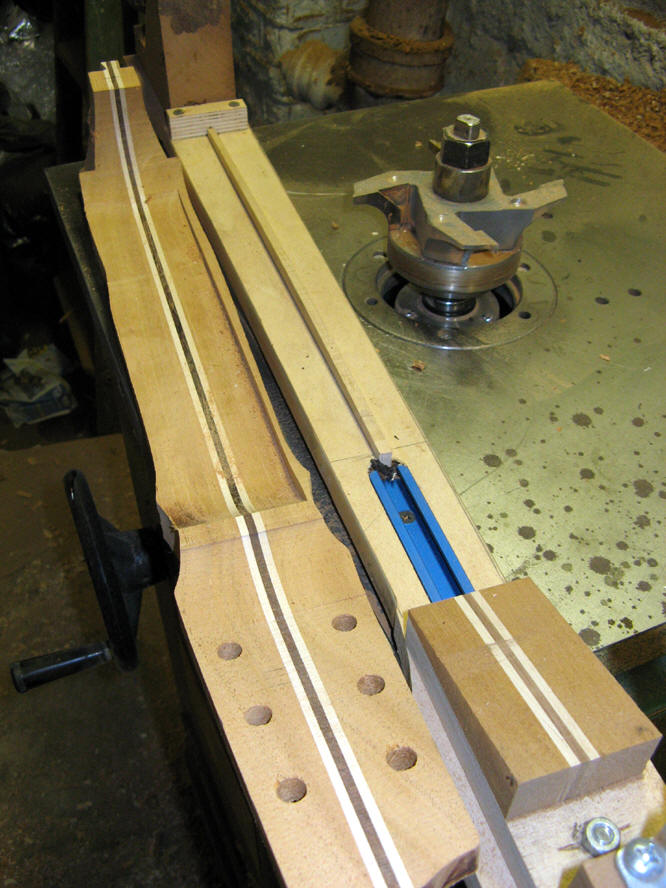 This jig - and cutter - rough shapes the neck - not to absolute final
shape but close and quickly removes a lot of wood.
This jig - and cutter - rough shapes the neck - not to absolute final
shape but close and quickly removes a lot of wood.
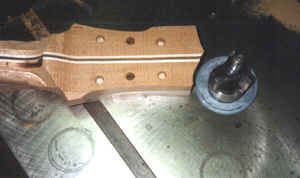
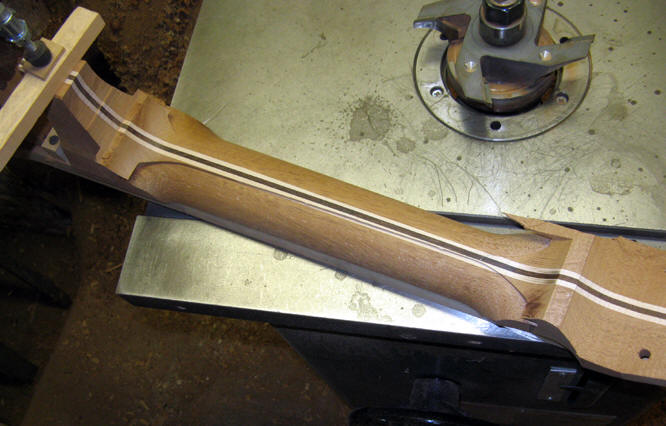 Leaving this blank - which has almost all of the machine work
done.
Leaving this blank - which has almost all of the machine work
done.
This website and all of its content, text and images are copyright ©1997-2011 by Charles A. Hoffman. All rights reserved.