Current Production -- General
The photos on this page are of my current production batch (I generally make 8 to 12 guitars in a batch) This page will have the photos that are generic to all of the guitars (such as making the rosettes.) At the bottom of the page are links to the page showing the entire batch and to each of the pages for the guitars.
This is the first of the "General" pages for this batch - it shows pictures of steps that are generic for every guitar in the batch. There are several such pages. See also PAGE 2; PAGE 3; PAGE 4; .
The photos are thumbnails. Click on the photo and you will automatically go to the full image.
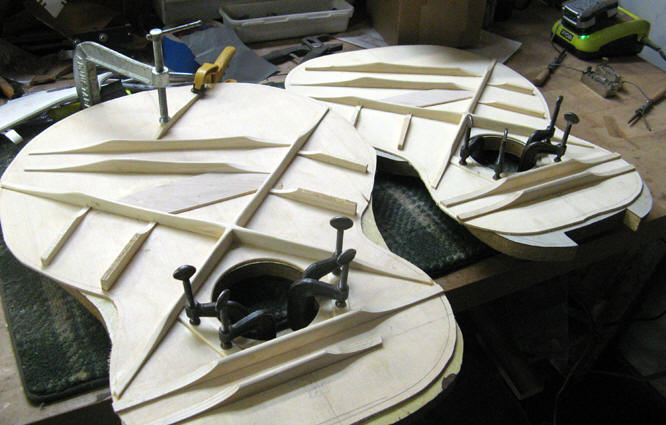 I am close to finishing with gluing on top braces. Some of the
shaping and sanding is done but not all.
I am close to finishing with gluing on top braces. Some of the
shaping and sanding is done but not all.
 More of the same
 Gluing in a tail block.
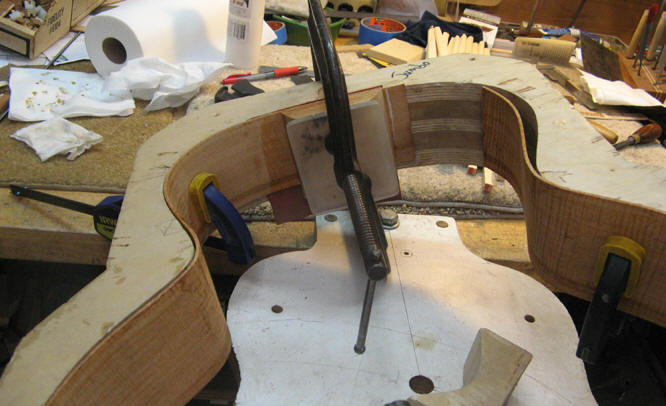 And a neck block - this one is a cutaway.
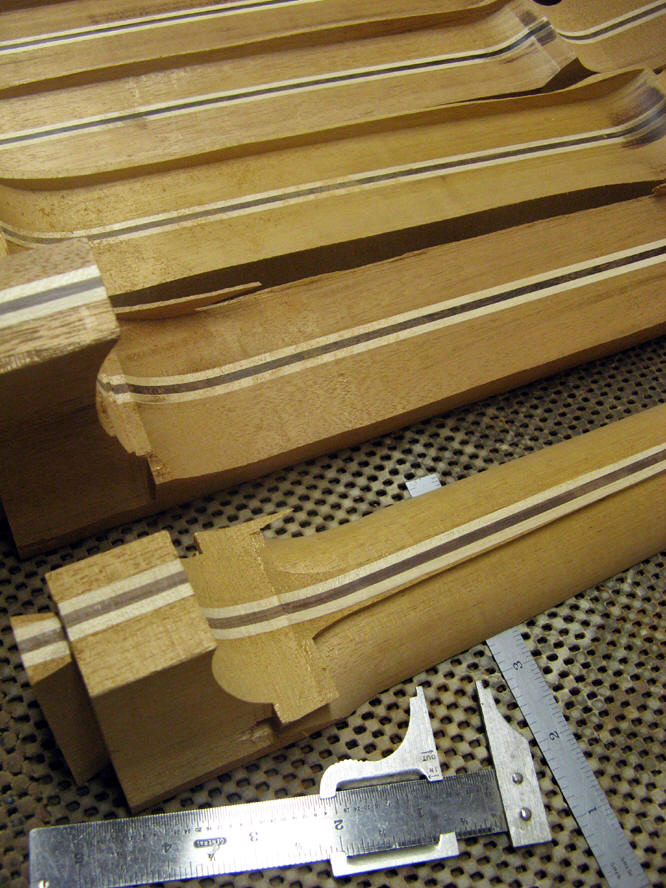
 The cavity for the end wedge is done on these and so are the dovetail in
the body.
The cavity for the end wedge is done on these and so are the dovetail in
the body.
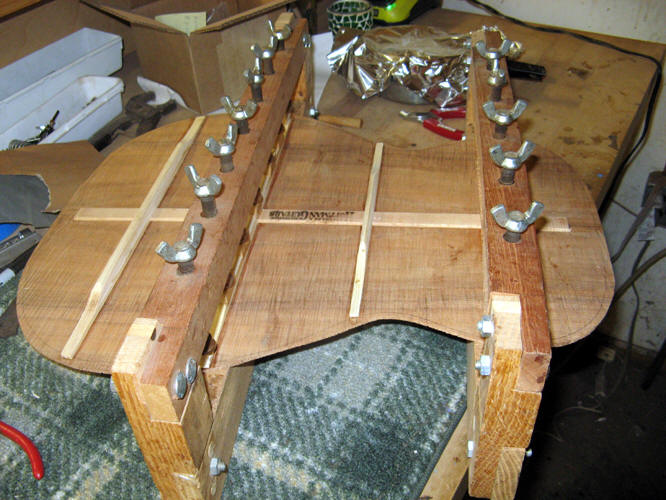 Gluing on back braces.
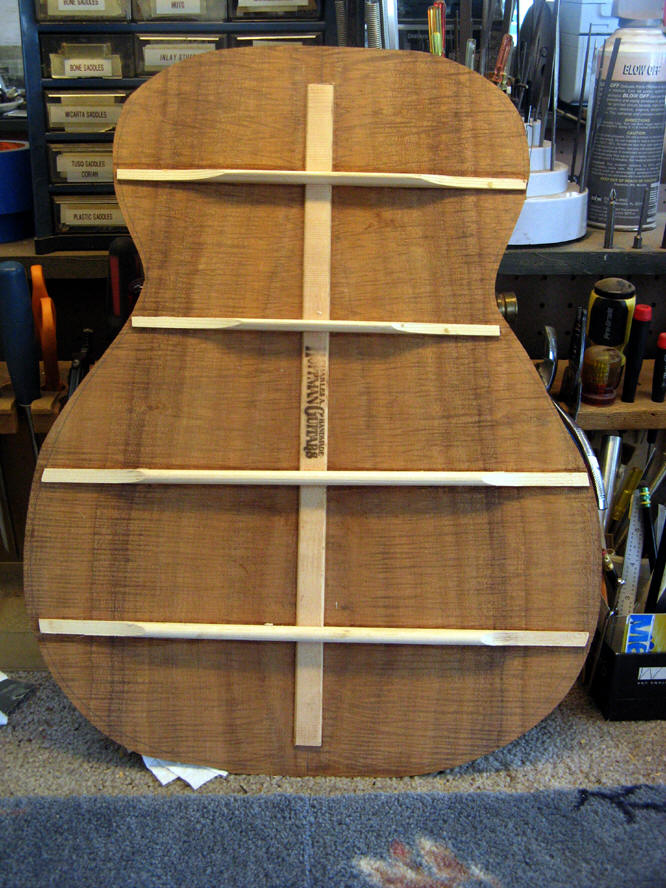 Koa back with braces on.
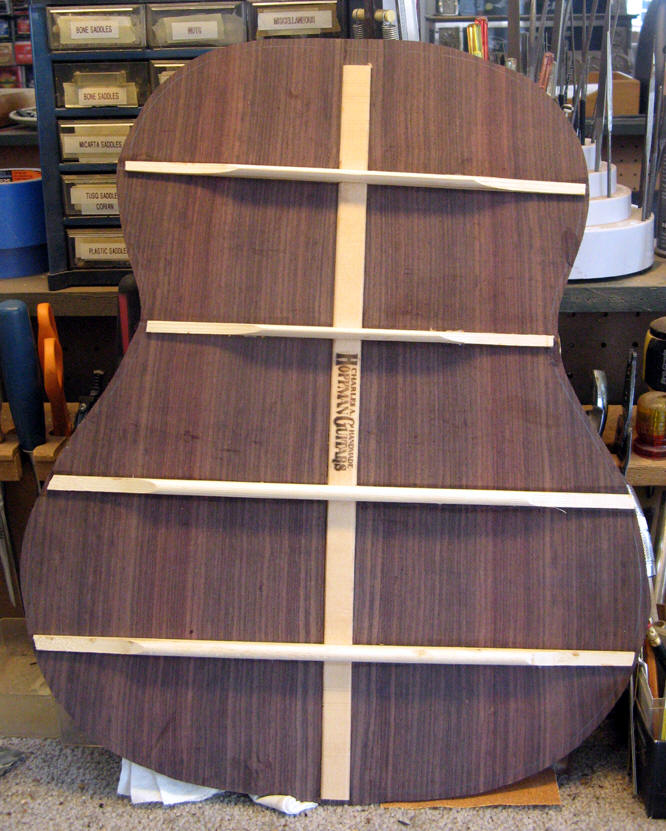
 The other side
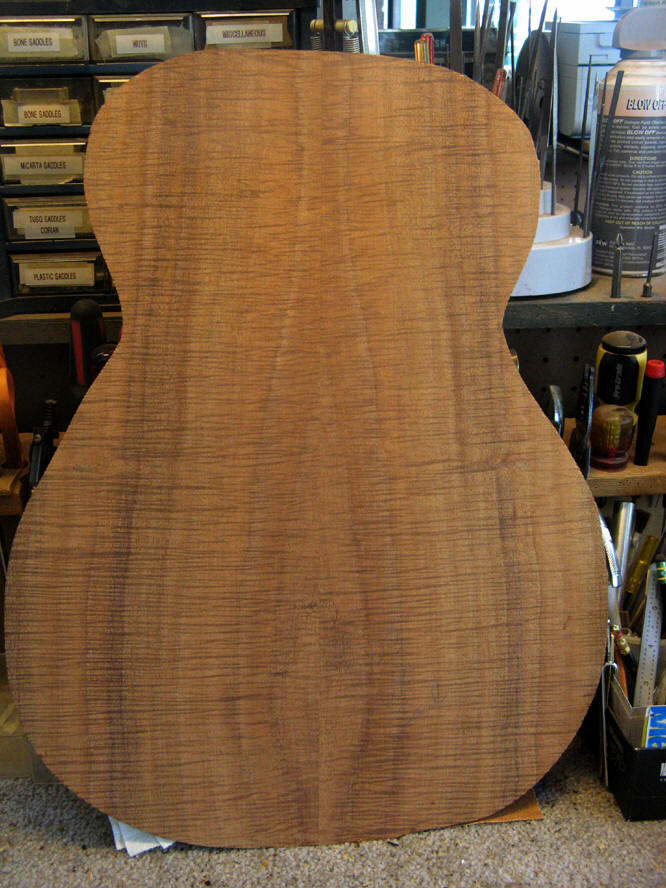
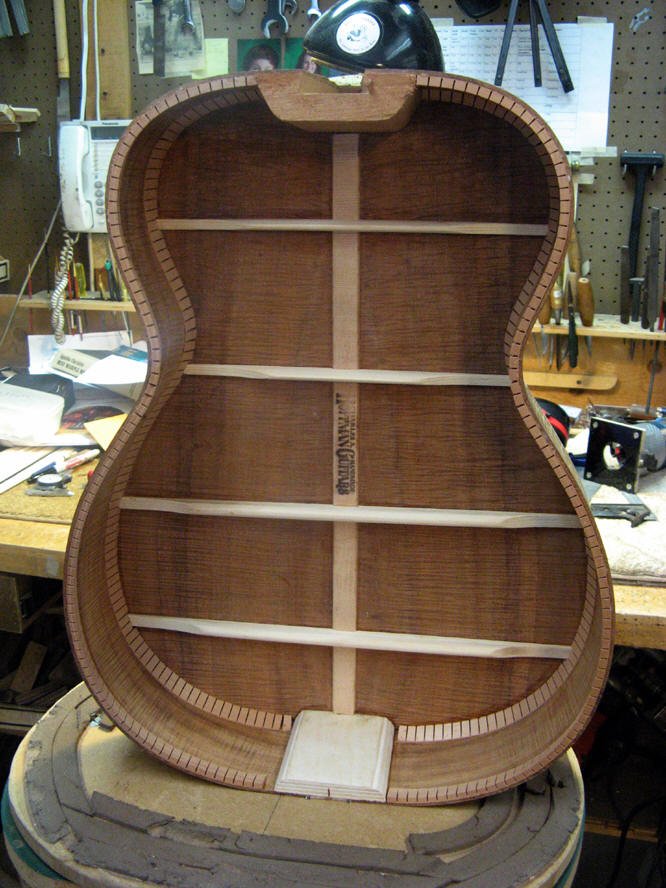
 Inside back
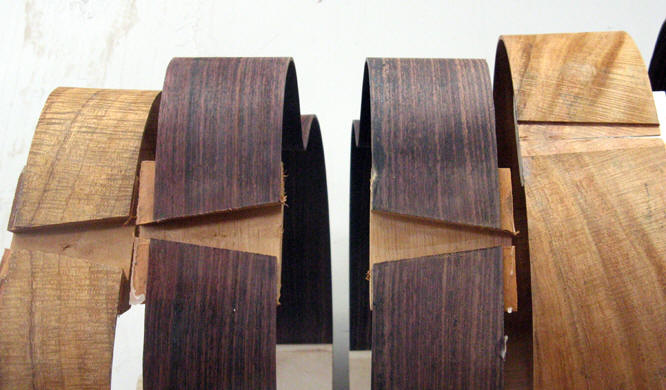
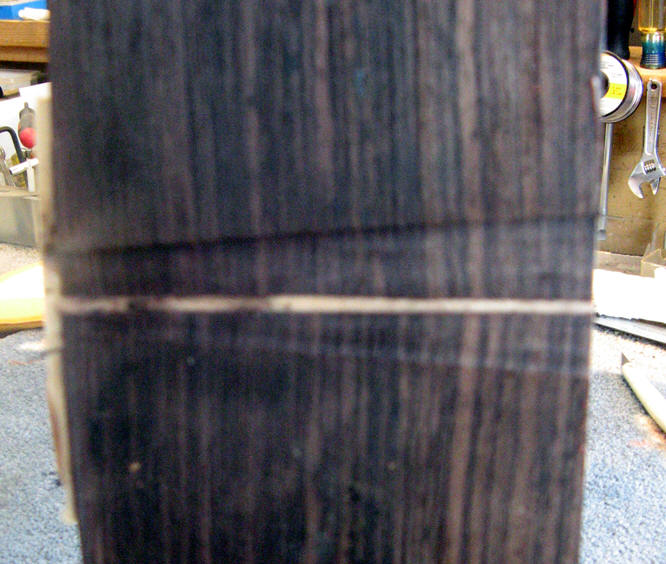 Sides cut for end wedge
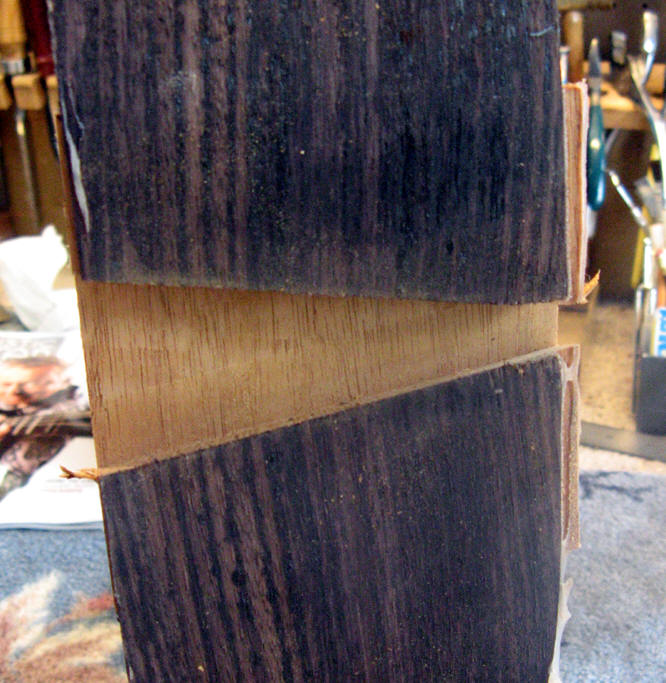 Sides cut for dovetail
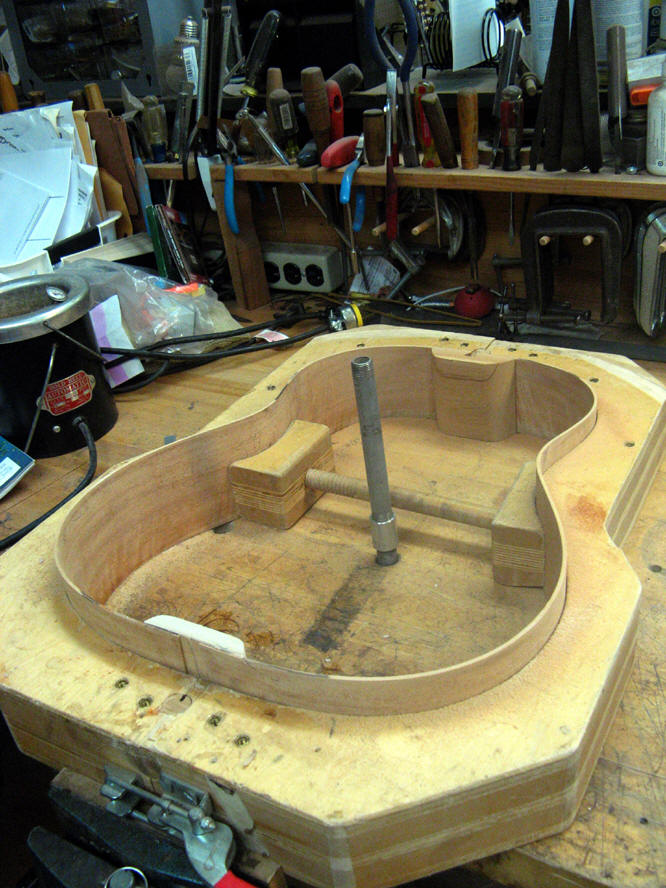
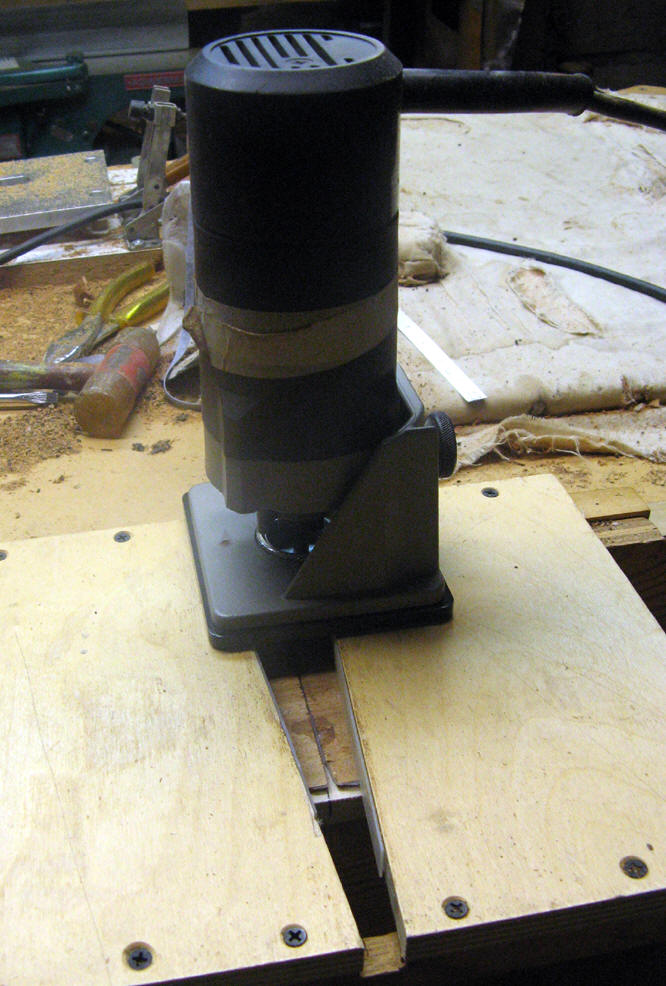 Cutting end wedge cavity
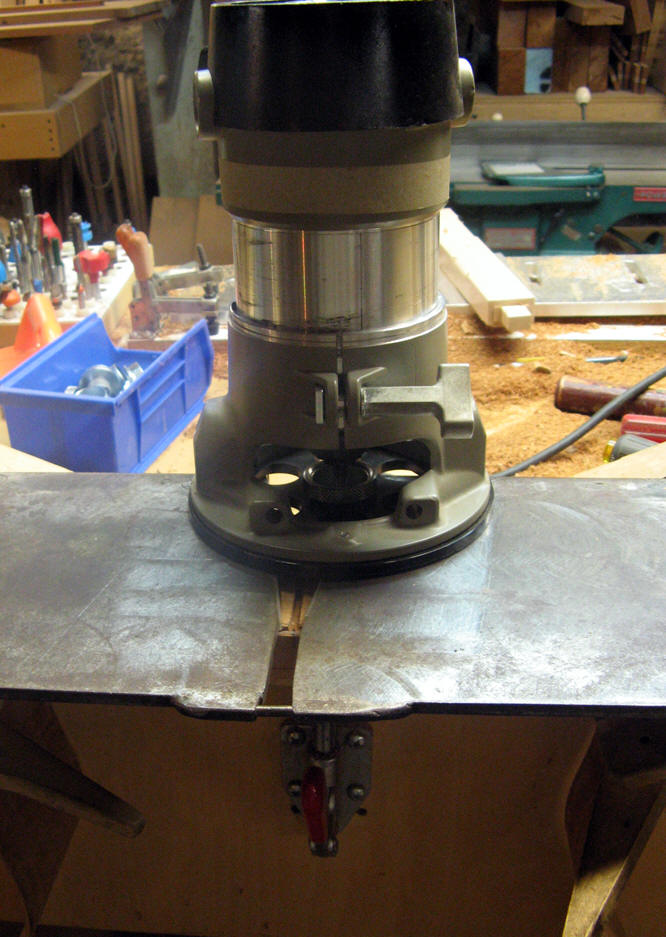 cutting dovetail joint in body
 Ribs (sides) ready to be shaped for back taper/curve
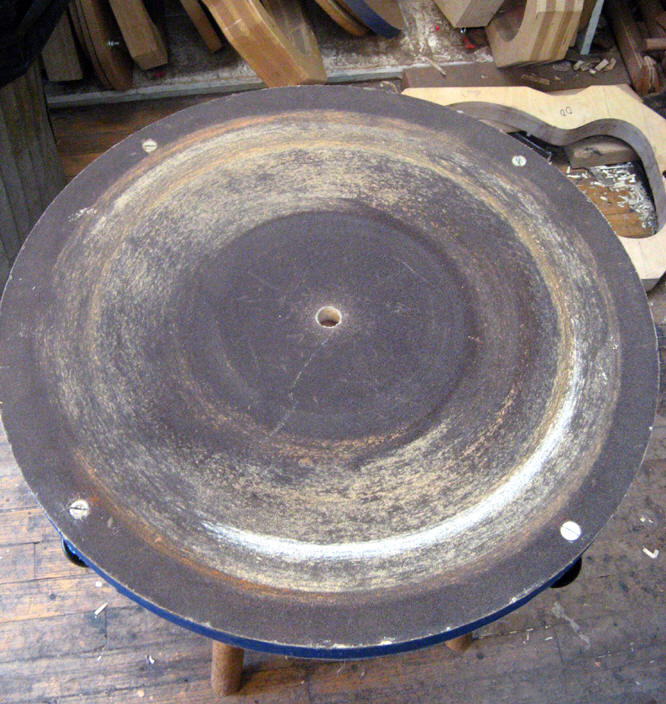 The tool for this is a dome shaped sanding disc
 Which is rotated on the sides to create the proper shape
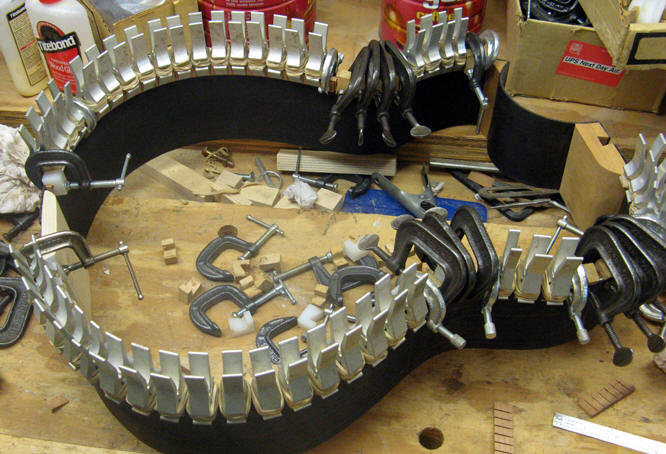 Gluing in the linings
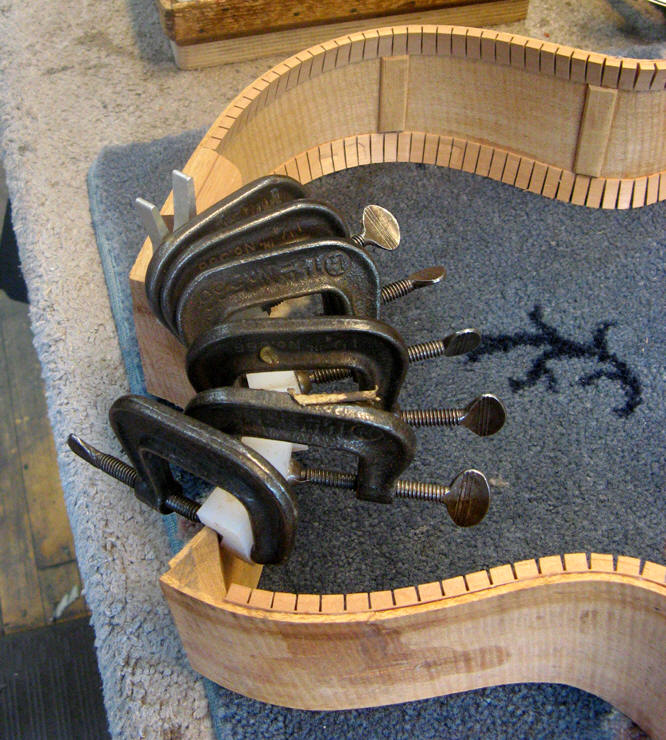 Same, for a cutaway
 This set of ribs is ready for a back and top
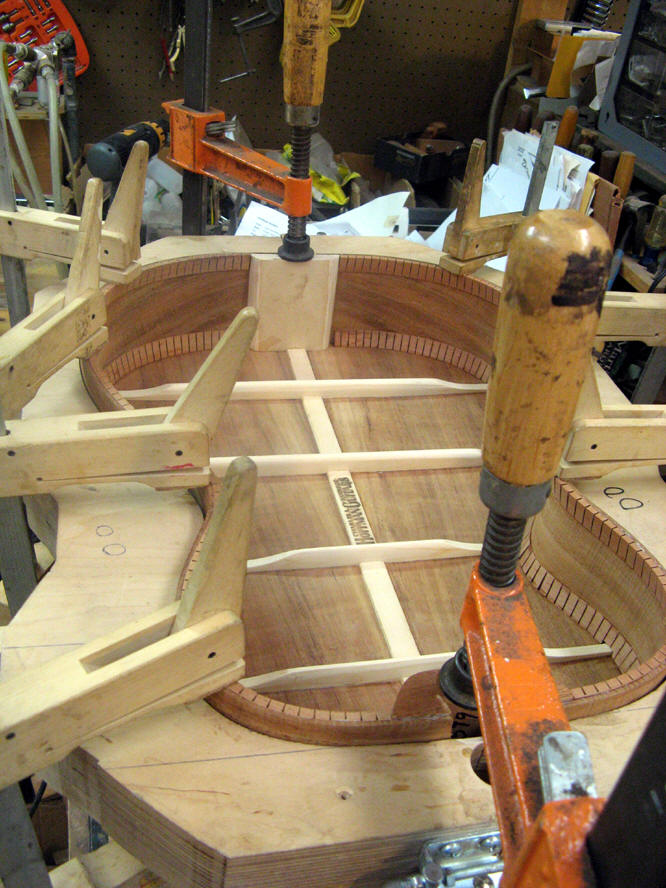 Gluing on a back
 End Wedge in place.
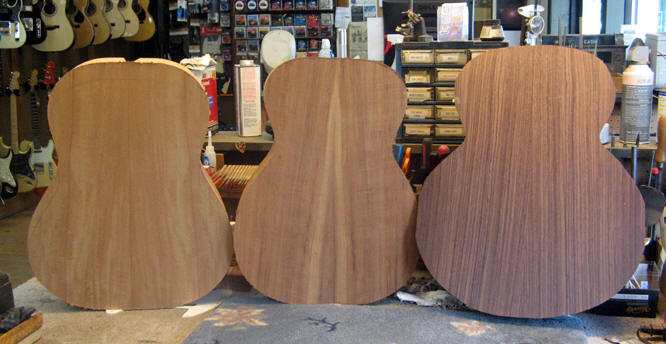 Three ribs with the backs glued on but not trimmed
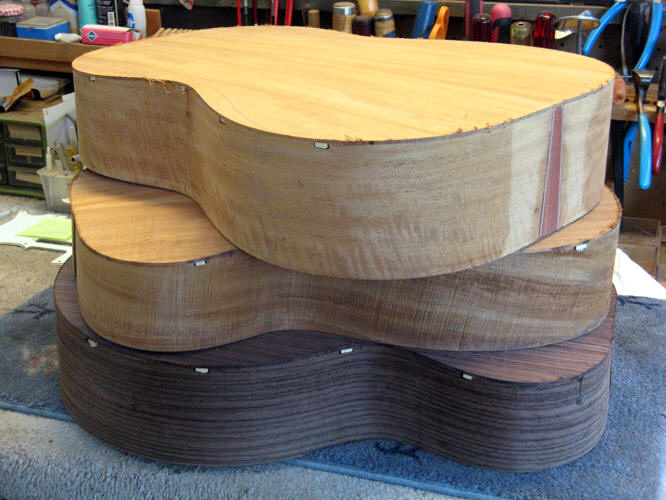 Same three with the backs trimmed to the sides.
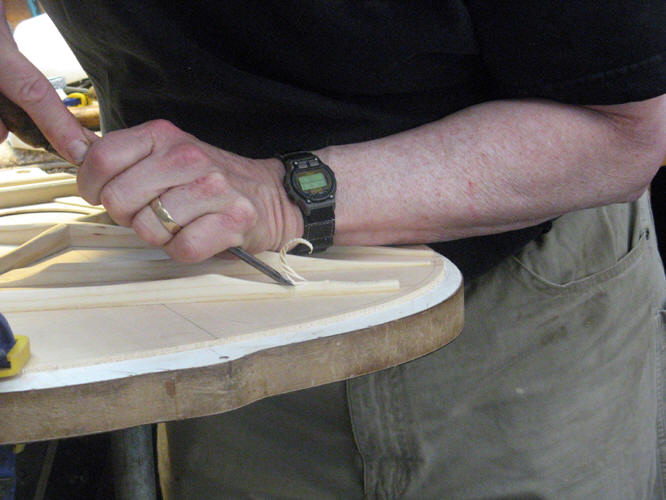 Carving top braces
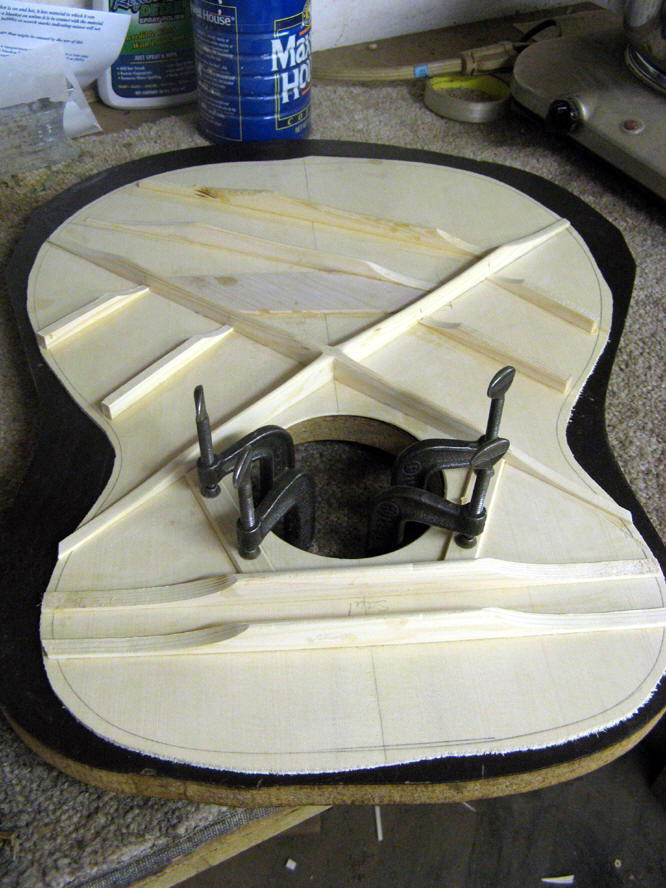
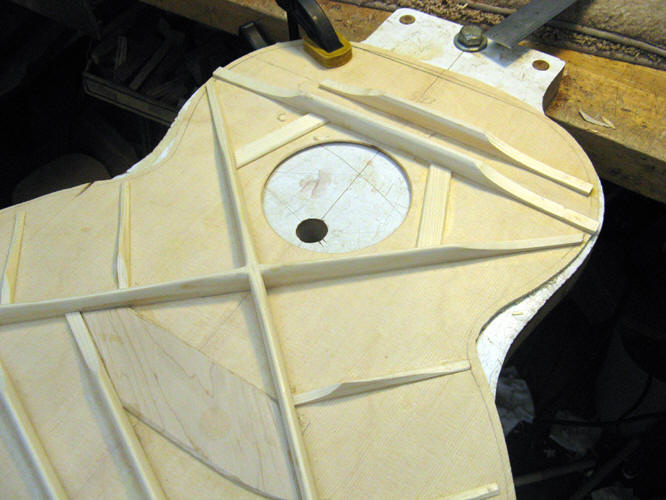 Top braces are all shaped and sanded smooth.
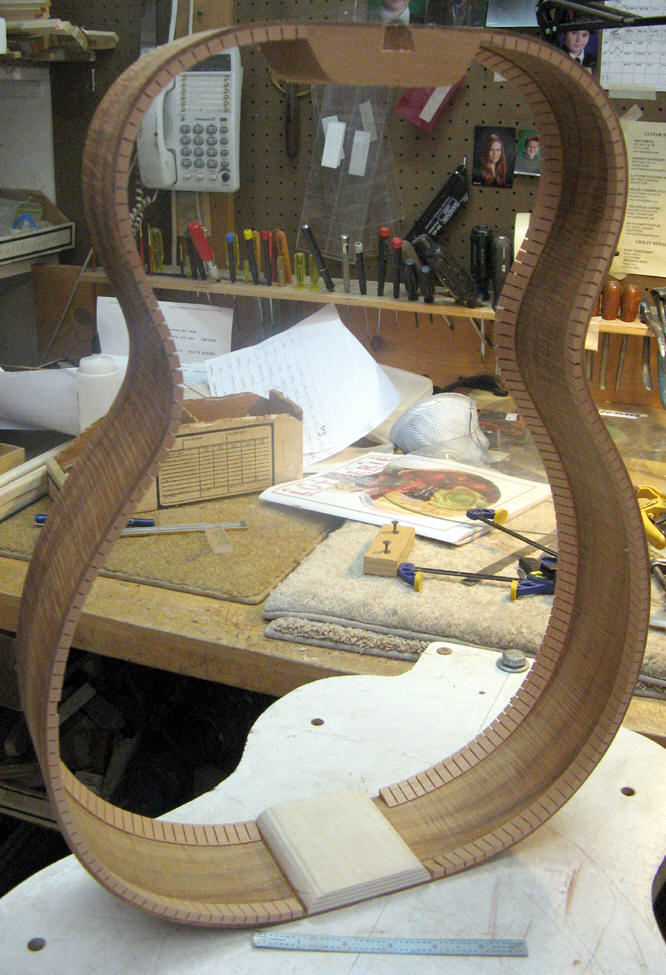
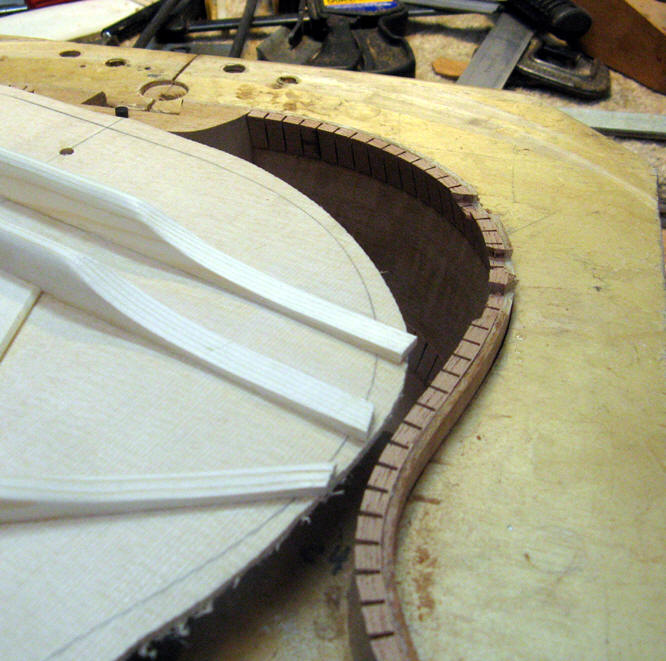 Sides are notched to accept the top and the braces.
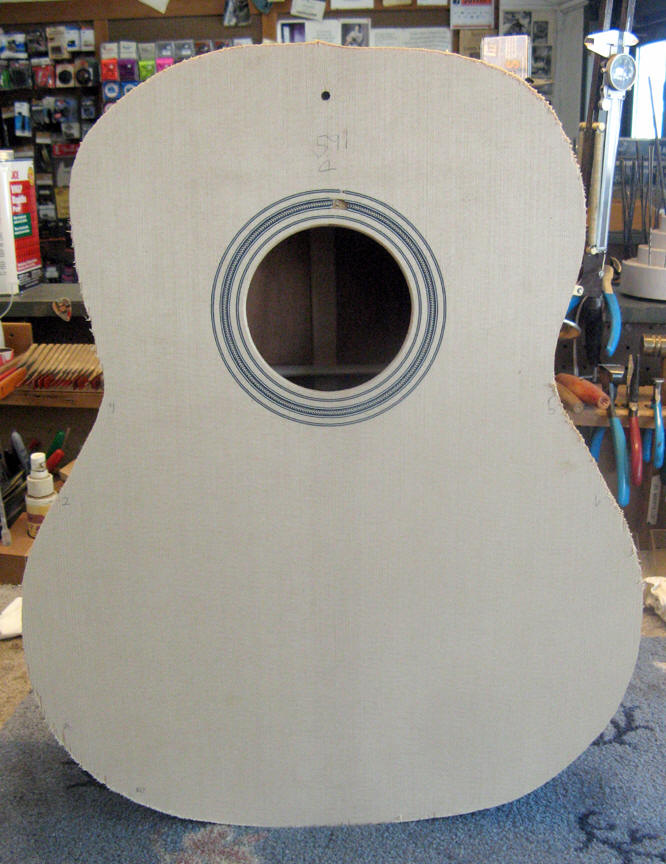
 Top is ready to be glued on.
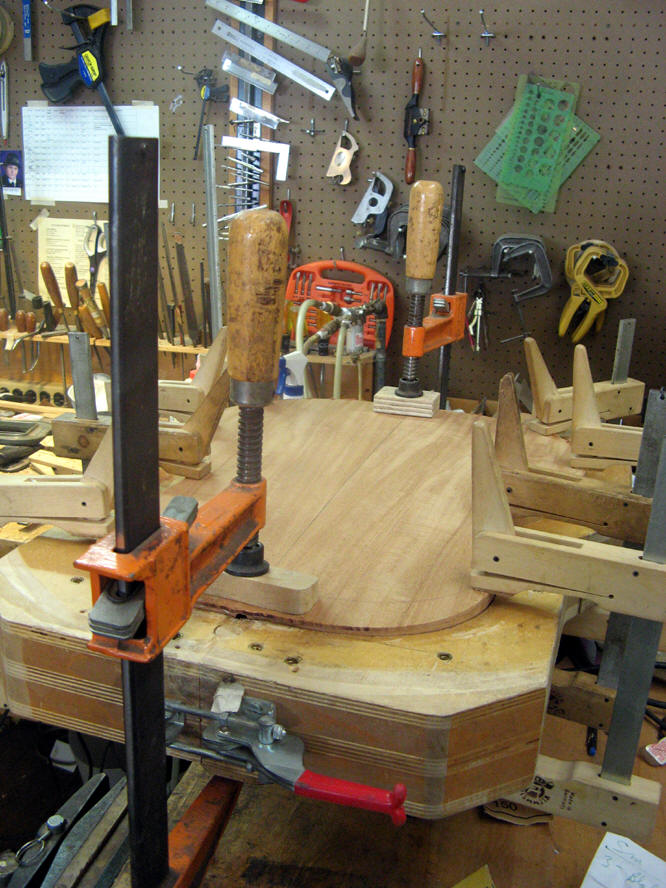 Top being glued on.
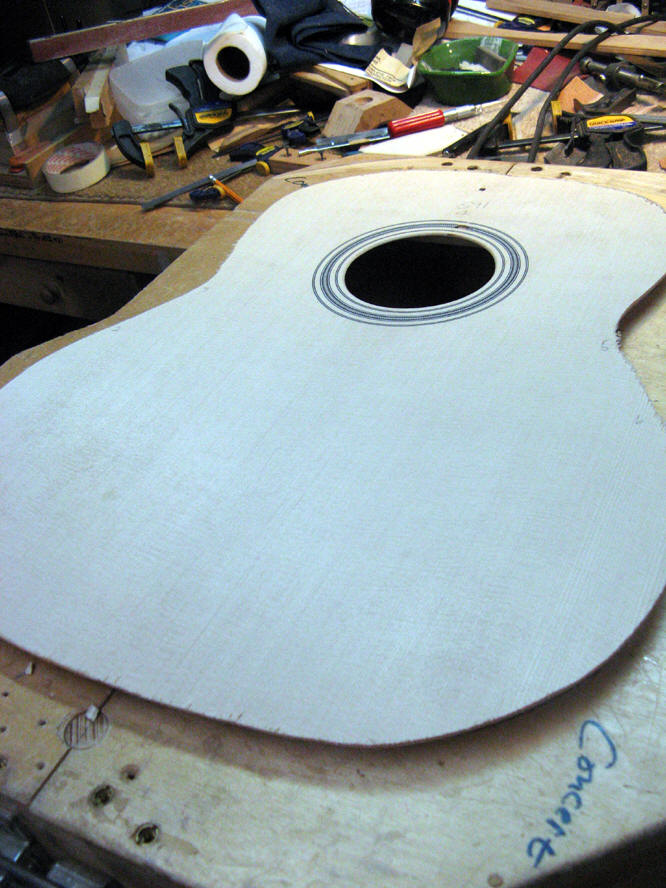
 Top is on but not trimmed
 Still not trimmed
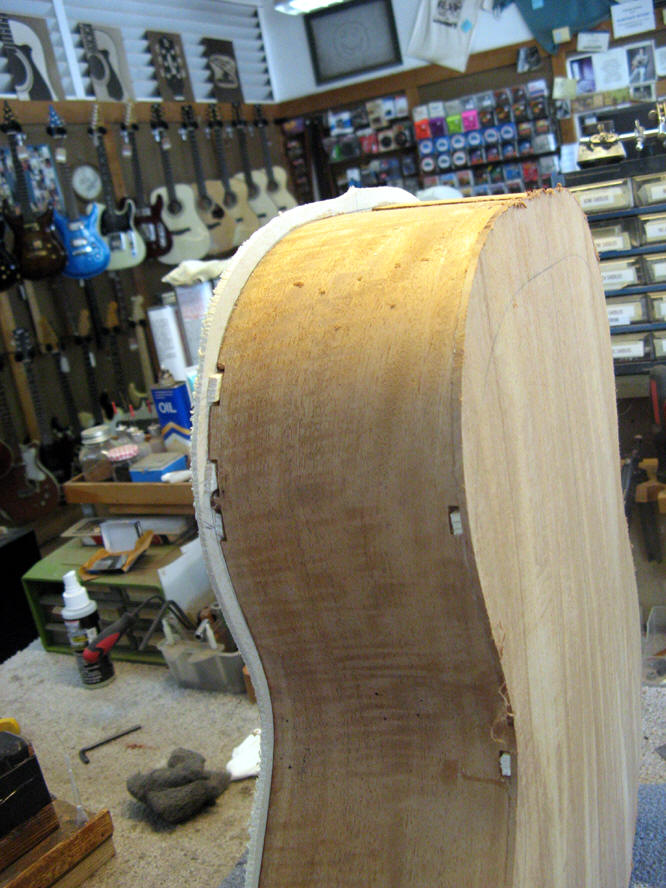
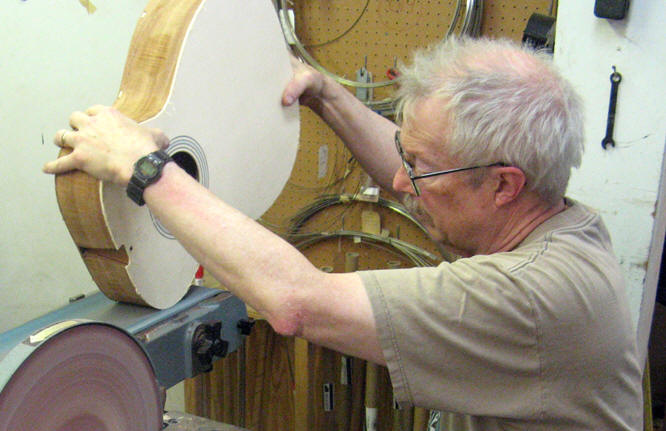 Sanding the sides

![]() Bodies are all together
Bodies are all together
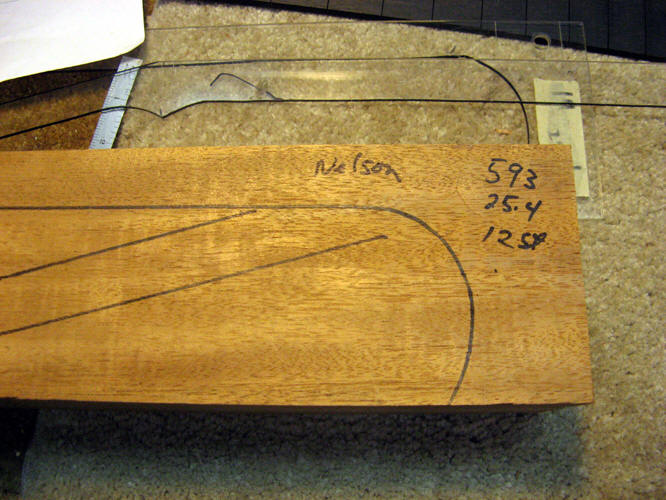 Starting to lay out the necks
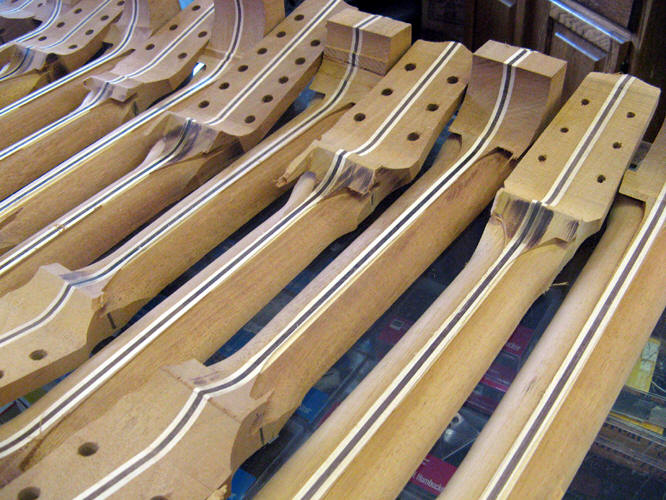
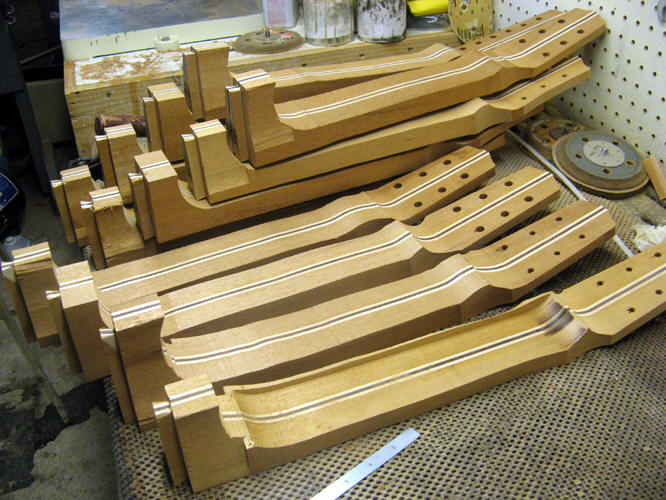 Neck blanks have been band sawn to shape and pegheads shaped. Also
the shafts are thicknessed
Neck blanks have been band sawn to shape and pegheads shaped. Also
the shafts are thicknessed
 The first one here is partly shaped
 More shaping is done
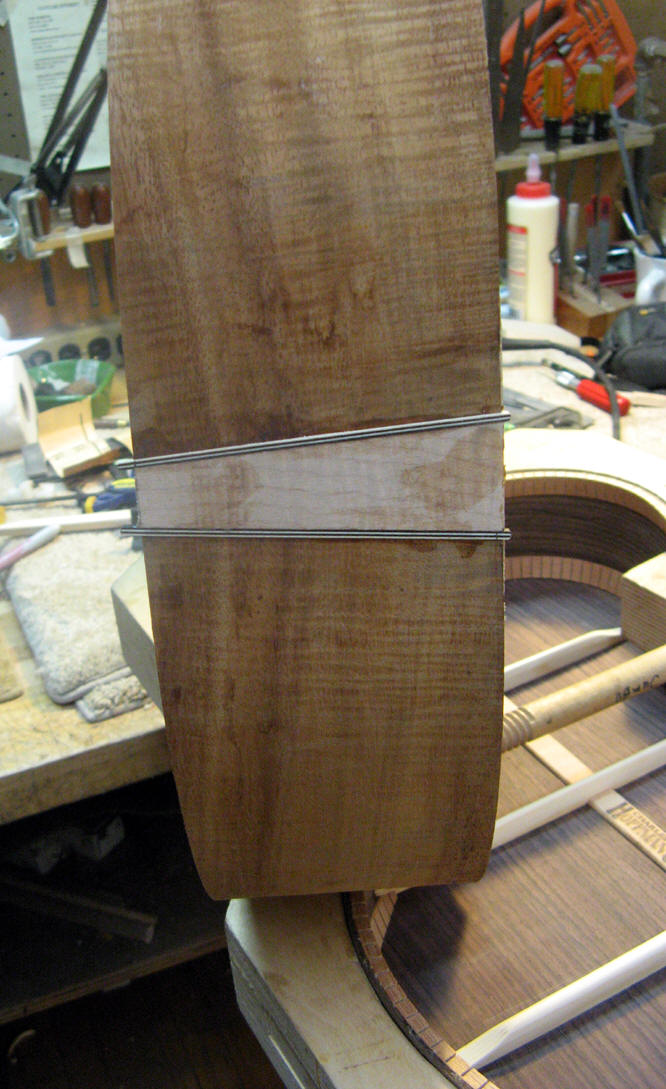
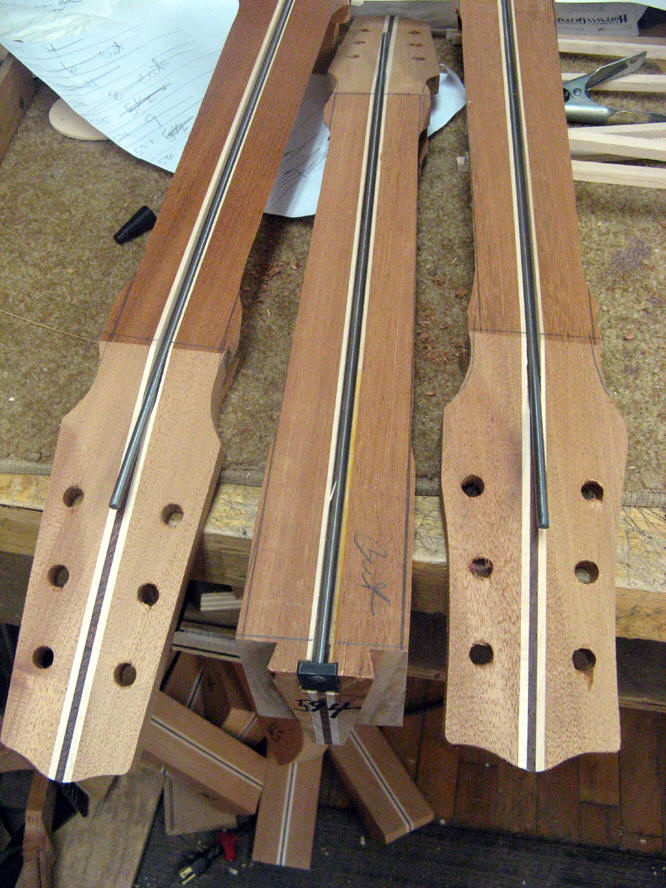 Starting to install truss rods
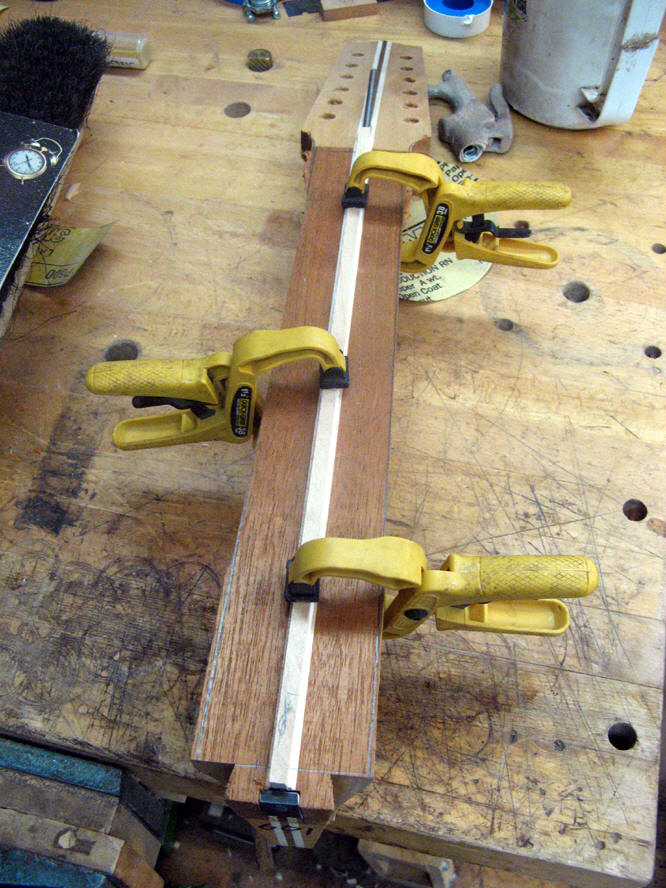 Gluing in the filler strip over the truss rod
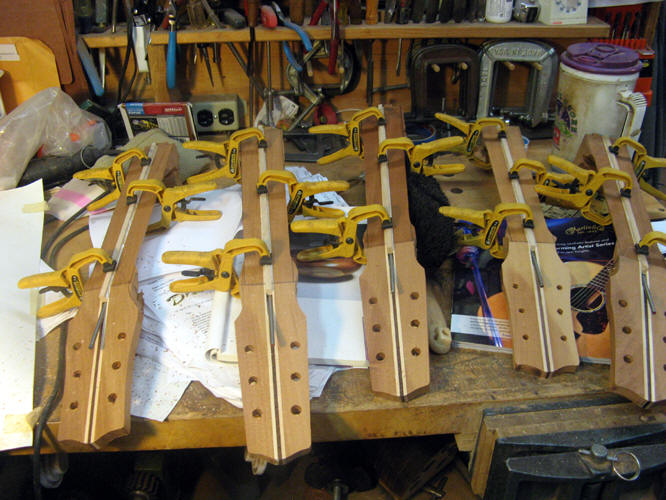 More of the same
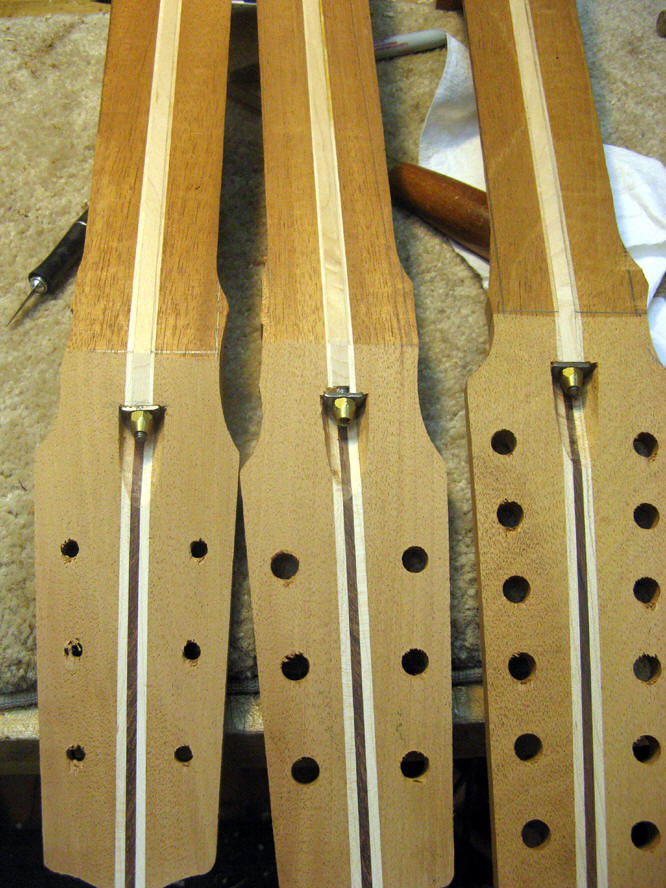 Truss rods are in
 Necks and bodies are moving right along.
More on the binding process HERE.
This website and all of its content, text and images are copyright ©1997-2012 by Charles A. Hoffman. All rights reserved.
|
14
|
15
|
1 | 9 |
13
|