HARP GUITAR 2
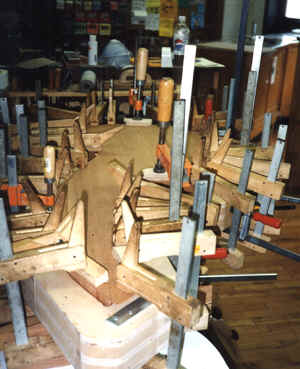 Here the back is being glued on. It only looks like I have
used every clamp I own. In fact, while I have never counted, I
suspect that I own 300 or more clamps of one sort or another, and that
many wouldn't fit.
Here the back is being glued on. It only looks like I have
used every clamp I own. In fact, while I have never counted, I
suspect that I own 300 or more clamps of one sort or another, and that
many wouldn't fit.
Photos are thumbnails - click on photo to see the full size image.
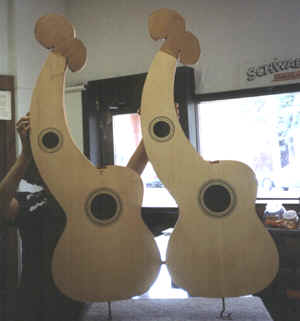
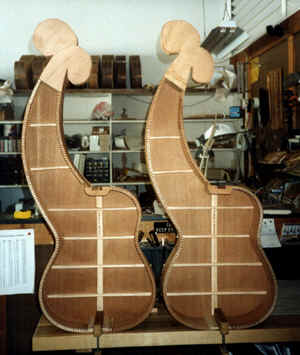 Here are the two bodies (with no tops, yet, obviously). I expect
that the tops will go on in the next two weeks or so. Photos when
that happens.
Here are the two bodies (with no tops, yet, obviously). I expect
that the tops will go on in the next two weeks or so. Photos when
that happens.
 Here I am sanding the linings to prepare for gluing on the top.There
is a more complete discussion of this in the Building a Guitar section.
(Go HERE)
Here I am sanding the linings to prepare for gluing on the top.There
is a more complete discussion of this in the Building a Guitar section.
(Go HERE)
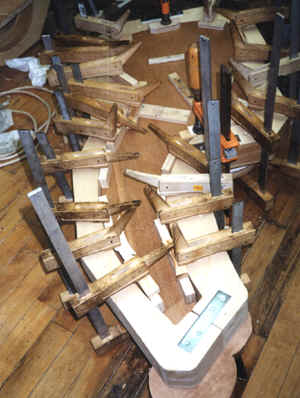 Here the top is being glued on. This photo looks like the one
for gluing the back one - and in fact the process is almost identical.
Nothing new or surprising here.
Here the top is being glued on. This photo looks like the one
for gluing the back one - and in fact the process is almost identical.
Nothing new or surprising here.
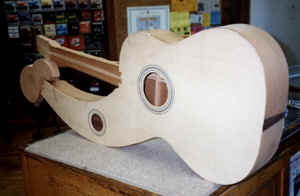 Here is the body, with top, and the neck blank is getting its first
fitting (the two pegheads have to be sized and shaped so as not to interfere
with each other. The top soundhole was added just before gluing
on the top. This was necessary so I could tell exactly
where the top fit on the ribs, which was essential to ensure that this
soundhole is correctly centered. It is also more difficult to do
since there is no fingerboard to hide the joint where the purfling meet
- that joint must be very well cut.
Here is the body, with top, and the neck blank is getting its first
fitting (the two pegheads have to be sized and shaped so as not to interfere
with each other. The top soundhole was added just before gluing
on the top. This was necessary so I could tell exactly
where the top fit on the ribs, which was essential to ensure that this
soundhole is correctly centered. It is also more difficult to do
since there is no fingerboard to hide the joint where the purfling meet
- that joint must be very well cut.
 Both harp guitars have tops. The next steps will involve shaping
the harp peghead, fitting the neck and binding the body. Still lots
to do, but this is really a milestone in the process. Assembling
the bodies really is the part that had me most anxious and working at
the edge.
Both harp guitars have tops. The next steps will involve shaping
the harp peghead, fitting the neck and binding the body. Still lots
to do, but this is really a milestone in the process. Assembling
the bodies really is the part that had me most anxious and working at
the edge.
This website and all of its content, text and images are copyright ©1997-2011 by Charles A. Hoffman. All rights reserved.